
Removing an old tile floor can completely transform the look and functionality of your home. Whether you’re preparing for a renovation, fixing damaged tiles, or upgrading to a modern surface, understanding How to Remove Tile Floor correctly can save you time, money, and unnecessary stress. While tile removal may seem intimidating at first, with the right tools, preparation, and guidance, many homeowners can handle at least part of the process themselves.
In Australia, especially in cities like Melbourne, tile flooring is extremely common due to its durability and suitability for varied climates. However, removing it requires care to avoid damaging the subfloor or surrounding structures. This comprehensive guide walks you through everything you need to know, from preparation to cleanup, while also helping you decide when it’s best to call in professionals.
Why Homeowners Choose to Remove Tile Flooring?
There are several reasons why homeowners decide to take on tile removal. Understanding your motivation helps determine the scope of the work and whether DIY is realistic.
Common reasons include:
-
Cracked, loose, or outdated tiles
-
Preparing for new flooring such as timber or vinyl
-
Water damage beneath tiles
-
Property renovations or resale preparation
-
Layout changes during a remodel
Many people start researching How to Remove Tile Floor after realizing that simply installing new flooring over old tiles can create height issues, uneven surfaces, or long-term structural problems.
Tools and Materials You Will Need
Before you begin, gather all necessary tools to ensure a smooth workflow. Using proper equipment not only speeds up the job but also reduces the risk of injury.
Essential Tools
-
Safety goggles and gloves
-
Dust mask or respirator
-
Hammer or rubber mallet
-
Cold chisel or masonry chisel
-
Floor scraper
-
Pry bar
-
Bucket and heavy-duty trash bags
Optional but Helpful Tools
-
Rotary hammer or demolition hammer (for large areas)
-
Knee pads
-
Plastic sheeting for dust control
Using the right spacing and alignment tools during installation is just as important as removal. If you’re unfamiliar with installation basics, understanding concepts like What is a Tile Spacer can help you plan for the next phase after demolition.
Safety Precautions Before You Start
Tile removal creates dust, debris, and sharp fragments. Always prioritize safety.
Key safety tips:
-
Turn off electricity to the area if working near outlets
-
Seal off adjacent rooms with plastic sheets
-
Ensure good ventilation
-
Wear protective gear at all times
-
Keep children and pets away from the work area
Knowing How to Remove Tile Floor safely is not just about technique—it’s also about protecting your health and home.
Step-by-Step Guide to Removing Tile Floor
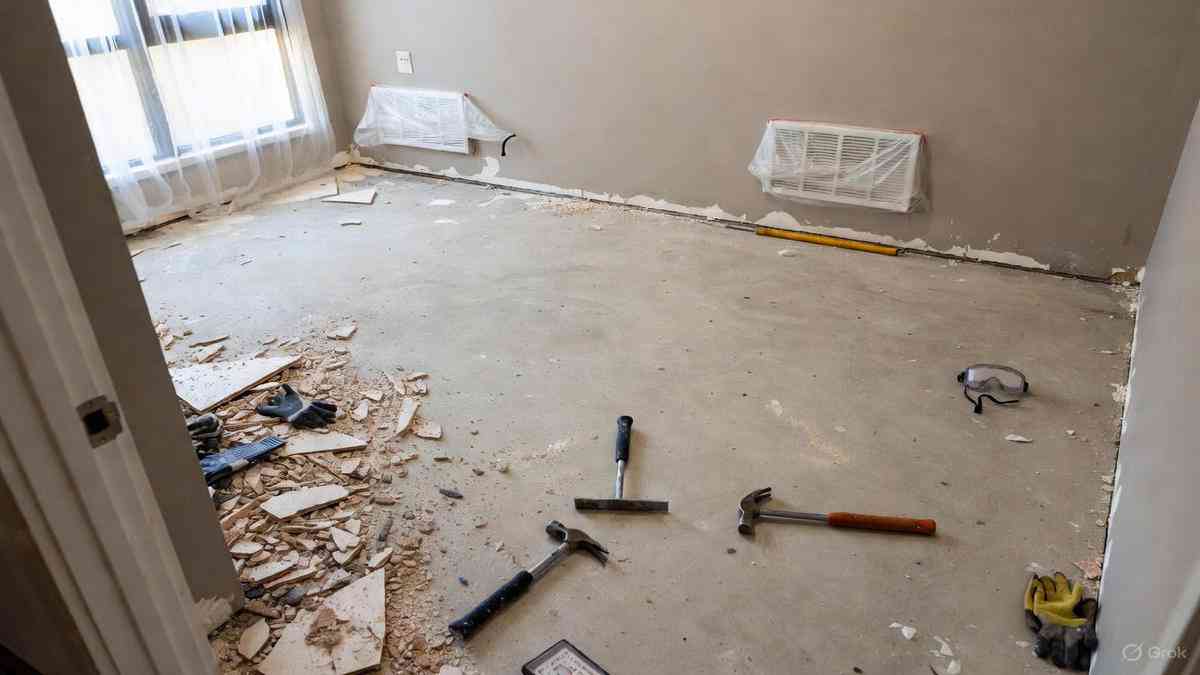
Step 1: Prepare the Area
Remove all furniture, appliances, and fixtures from the room. Cover vents and doorways with plastic to limit dust spread. This preparation phase is often overlooked but makes a significant difference.
Step 2: Remove Baseboards and Trim
Carefully pry off skirting boards or trims using a pry bar. Label them if you plan to reinstall later.
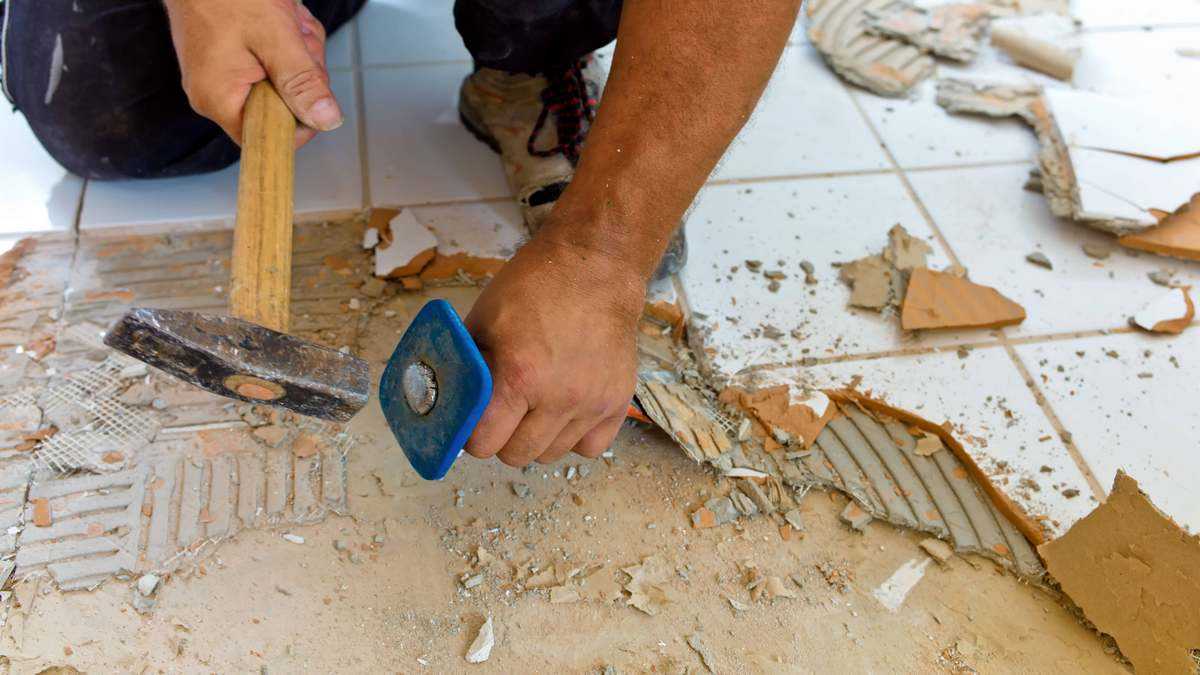
Step 3: Start with a Loose or Edge Tile
Find a cracked or edge tile to begin. Place the chisel at an angle and tap gently with a hammer until the tile lifts. This initial step sets the tone for the entire project and is a crucial part of learning How to Remove Tile Floor efficiently.
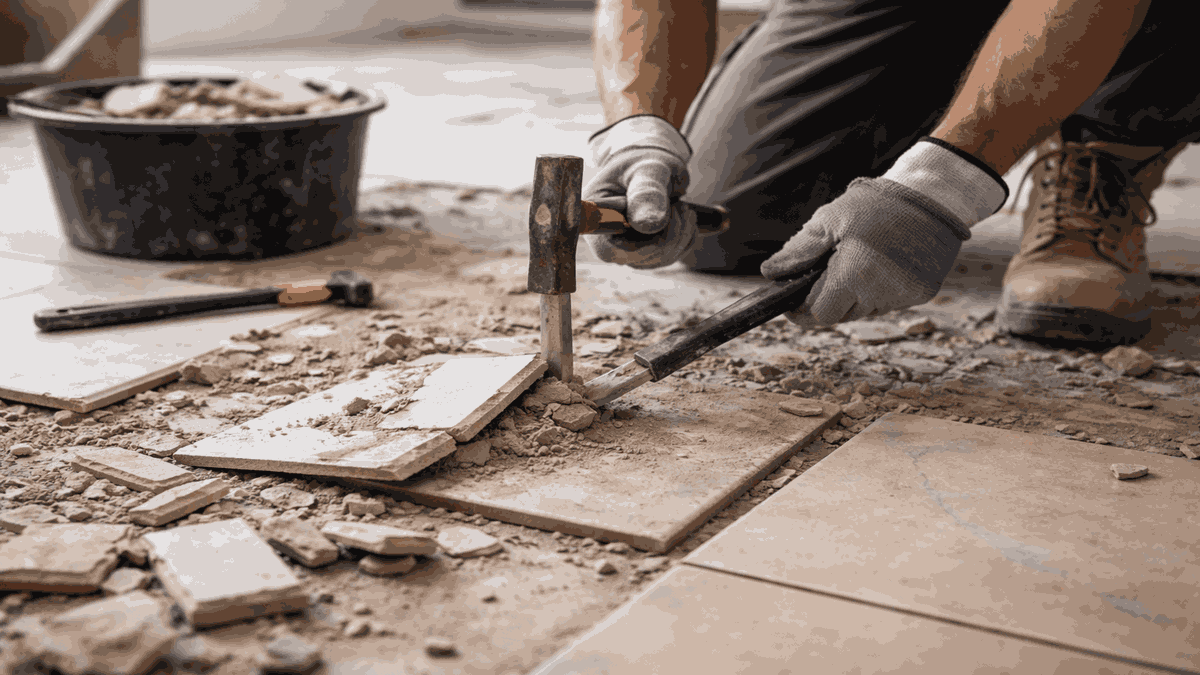
Step 4: Break and Lift Tiles
Work methodically across the room. Break tiles if needed, then pry them up. Always angle tools away from your body.
Step 5: Remove Adhesive and Mortar
Once tiles are gone, scrape off thinset or adhesive from the subfloor. This step is labor-intensive but essential for a smooth new installation.
Tile Removal Methods Comparison
| Method | Best For | Pros | Cons |
|---|---|---|---|
| Manual Tools | Small areas | Low cost, more control | Time-consuming |
| Demolition Hammer | Large areas | Fast and powerful | Can damage subfloor |
| Professional Service | Whole-house projects | Clean, efficient | Higher upfront cost |
Choosing the right method depends on your skill level and understanding How to Remove Tile Floor without causing further repairs.
Common Mistakes to Avoid
Many homeowners underestimate tile removal, leading to costly errors. Some of these issues overlap with broader Common Renovation Mistakes, such as skipping preparation or rushing demolition.
Avoid these pitfalls:
-
Damaging the subfloor
-
Ignoring dust control
-
Using incorrect tools
-
Removing tiles without checking what’s underneath
-
Underestimating time and disposal costs
Learning How to Remove Tile Floor properly helps prevent these issues and ensures your renovation stays on track.
Dealing With Different Subfloors
Not all tile floors are installed over the same base. Identifying your subfloor is critical.
Concrete Subfloor
-
Very common in Melbourne homes
-
Durable but difficult to clean
-
Power tools often required
Timber Subfloor
-
Requires extra caution
-
Excessive force can cause structural damage
-
Often best left to professionals
Each subfloor type affects how you approach How to Remove Tile Floor, especially when planning for new flooring.
Tile Removal Costs in Melbourne and Australia
Costs vary depending on area size, tile type, and labor. Below is a rough estimate:
| Item | Estimated Cost (AUD) |
|---|---|
| DIY Tools | $100 – $300 |
| Waste Disposal | $150 – $400 |
| Professional Removal | $40 – $70 per m² |
While DIY can reduce costs, many homeowners ultimately hire experts after realizing how demanding How to Remove Tile Floor can be in larger spaces.
When to Call a Professional Tile Removal Service
Professional help is recommended when:
-
Tiles are bonded with strong adhesives
-
The area exceeds 30–40 square meters
-
Subfloor damage is likely
-
Time constraints are tight
In Melbourne, many renovation companies specialize not only in removal but also in Tile Design & Installation in melbourne, allowing for a seamless transition from demolition to new flooring.
Planning What Comes After Tile Removal
Once tiles are removed, you’ll need to decide on the next surface. Some homeowners explore creative options such as heated flooring or even decorative wall applications inspired by Fireplace Tile Ideas, repurposing leftover materials for accent features.
Before installing new flooring:
-
Inspect the subfloor thoroughly
-
Repair cracks or uneven areas
-
Ensure moisture levels are acceptable
Thinking ahead ensures your effort in learning How to Remove Tile Floor pays off long-term.
DIY vs Professional Tile Removal: Final Thoughts
While DIY tile removal can be rewarding, it’s not always the most practical solution. Homeowners in Melbourne often balance cost savings with the physical demands and risks involved. Understanding How to Remove Tile Floor gives you the knowledge to decide which parts of the job you can handle and when expert support is the smarter option.
Conclusion
Removing tile flooring is a major step in any renovation project, but with careful planning and realistic expectations, it can be managed successfully. From preparation and safety to tools, costs, and local considerations, this guide has covered everything homeowners need to know. Whether you tackle it yourself or hire professionals in Melbourne, knowing How to Remove Tile Floor properly will help you protect your home and achieve better renovation results.