
Tiling over existing tiles is an increasingly popular method for homeowners looking to update their space without the hassle of removing old tiles. Not only does it save time, but it can also be a cost-effective solution for bathroom, kitchen, or floor renovations. But many ask: Is it possible? The answer is yes, provided you follow the right steps and use the correct materials. In this comprehensive guide, we’ll explore How to Tiling Over Existing Tiles, including preparation, materials, and installation tips, while ensuring a professional and long-lasting finish.
Why Consider Tiling Over Existing Tiles?
Removing old tiles can be a labor-intensive and messy process. Tiling over existing tiles eliminates demolition, dust, and the need for extensive repairs. It also preserves the subfloor or wall integrity, especially in older homes. Moreover, modern adhesives and primers have improved, making tiling over tiles more reliable than ever.
Using this method, you can achieve an updated look, whether you’re installing Durable Floor Tiles in your kitchen or creating a stylish new bathroom floor. The key is proper surface preparation and choosing materials that ensure adhesion and stability.
Step 1: Assess the Existing Tiles
Before you start, carefully examine the current tiles:
-
Check for Stability: Ensure the tiles are firmly attached to the surface. Loose or cracked tiles must be removed to prevent future problems. Press around each tile to identify movement.
-
Level Surface: Use a spirit level to ensure the surface is even. Uneven tiles can compromise the new layer of tiles and affect aesthetics.
-
Clean Thoroughly: Dirt, grease, or soap residues prevent proper bonding. Cleaning is crucial for success. You might wonder How to Clean Outdoor Tiles using similar principles—scrubbing with mild detergent and water ensures adhesion.
Remember, skipping this step can result in tiles lifting or cracking after installation.
Step 2: Prepare the Surface
After assessment, preparation is key. Preparation involves:
-
Sanding or Etching: Lightly sanding glossy tiles or using a chemical etching solution increases surface roughness, which improves bonding with thin-set mortar.
-
Bonding Primer: Apply a specialized bonding primer to strengthen adhesion. Let it dry completely before tiling. This step is crucial for long-term durability.
By preparing correctly, you ensure the new tiles, whether Outdoor Patio Tiles or indoor ceramic, adhere firmly and last for years.
Step 3: Choose the Right Tiles and Adhesive
Selecting the correct tiles and adhesive is vital:
-
Tile Type: Consider the location and traffic. Porcelain tiles are ideal for wet areas due to water resistance. For areas requiring strength, like entryways, Durable Floor Tiles are a great choice.
-
Adhesive: Use a high-quality thin-set mortar designed for tiling over tiles. Some adhesives are specifically labeled for this purpose.
-
Tile Design: If updating your living space, exploring options like Living Room Tile Design can inspire layouts and color combinations that elevate the room’s ambiance.
Choosing appropriate materials ensures both visual appeal and functionality.
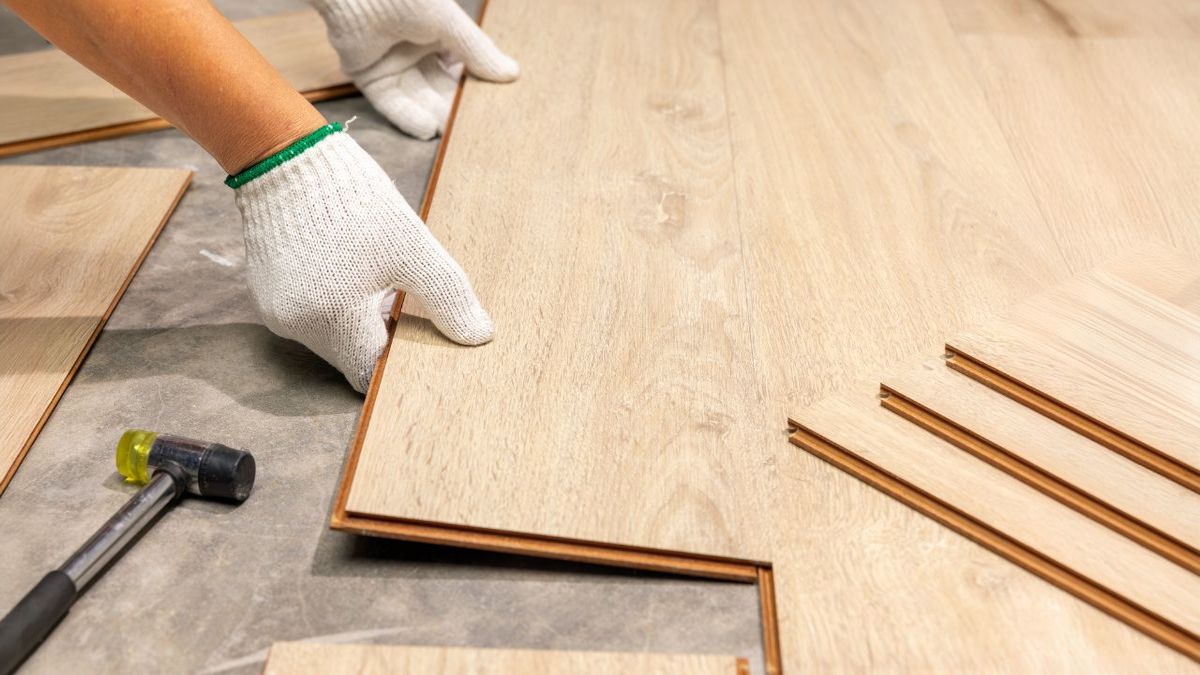
Step 4: Measuring and Cutting New Tiles
Accurate measurements and cuts are essential for a professional finish:
-
Measure the area carefully, including corners, edges, and obstacles.
-
Use a tile cutter, wet saw, or scoring tool for precision.
-
Wear protective gear during cutting for safety.
Proper measurement prevents gaps or misaligned tiles, ensuring the finished surface looks seamless.
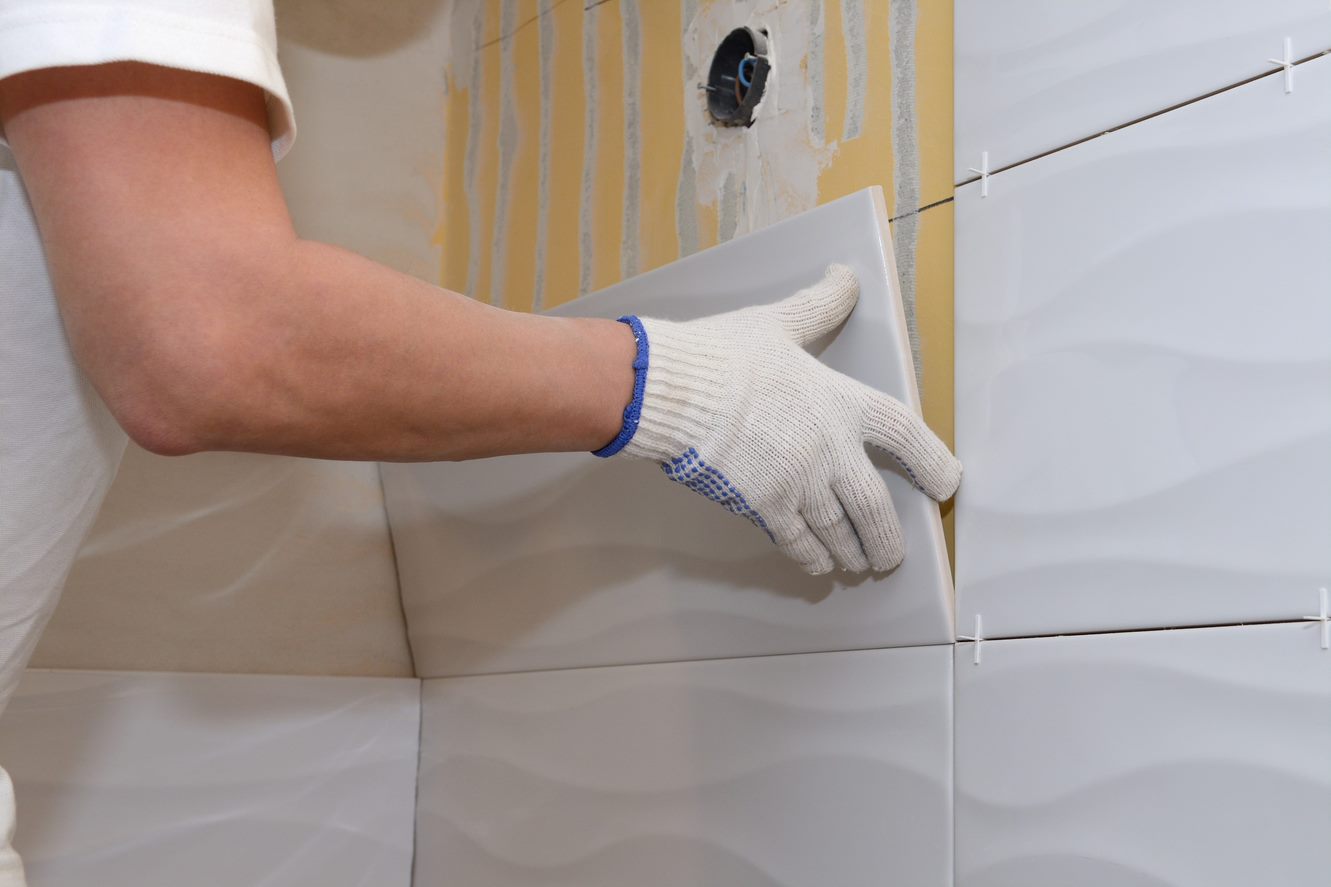
Step 5: Applying the Thin-Set Mortar
With tiles and adhesive ready:
-
Spread a thin, even layer of thin-set mortar using a notched trowel.
-
Start from a corner and press tiles firmly into place, ensuring full contact with the mortar.
-
Use tile spacers for uniform grout lines.
Take care not to use excessive mortar, as this can cause uneven tiles and longer drying times.
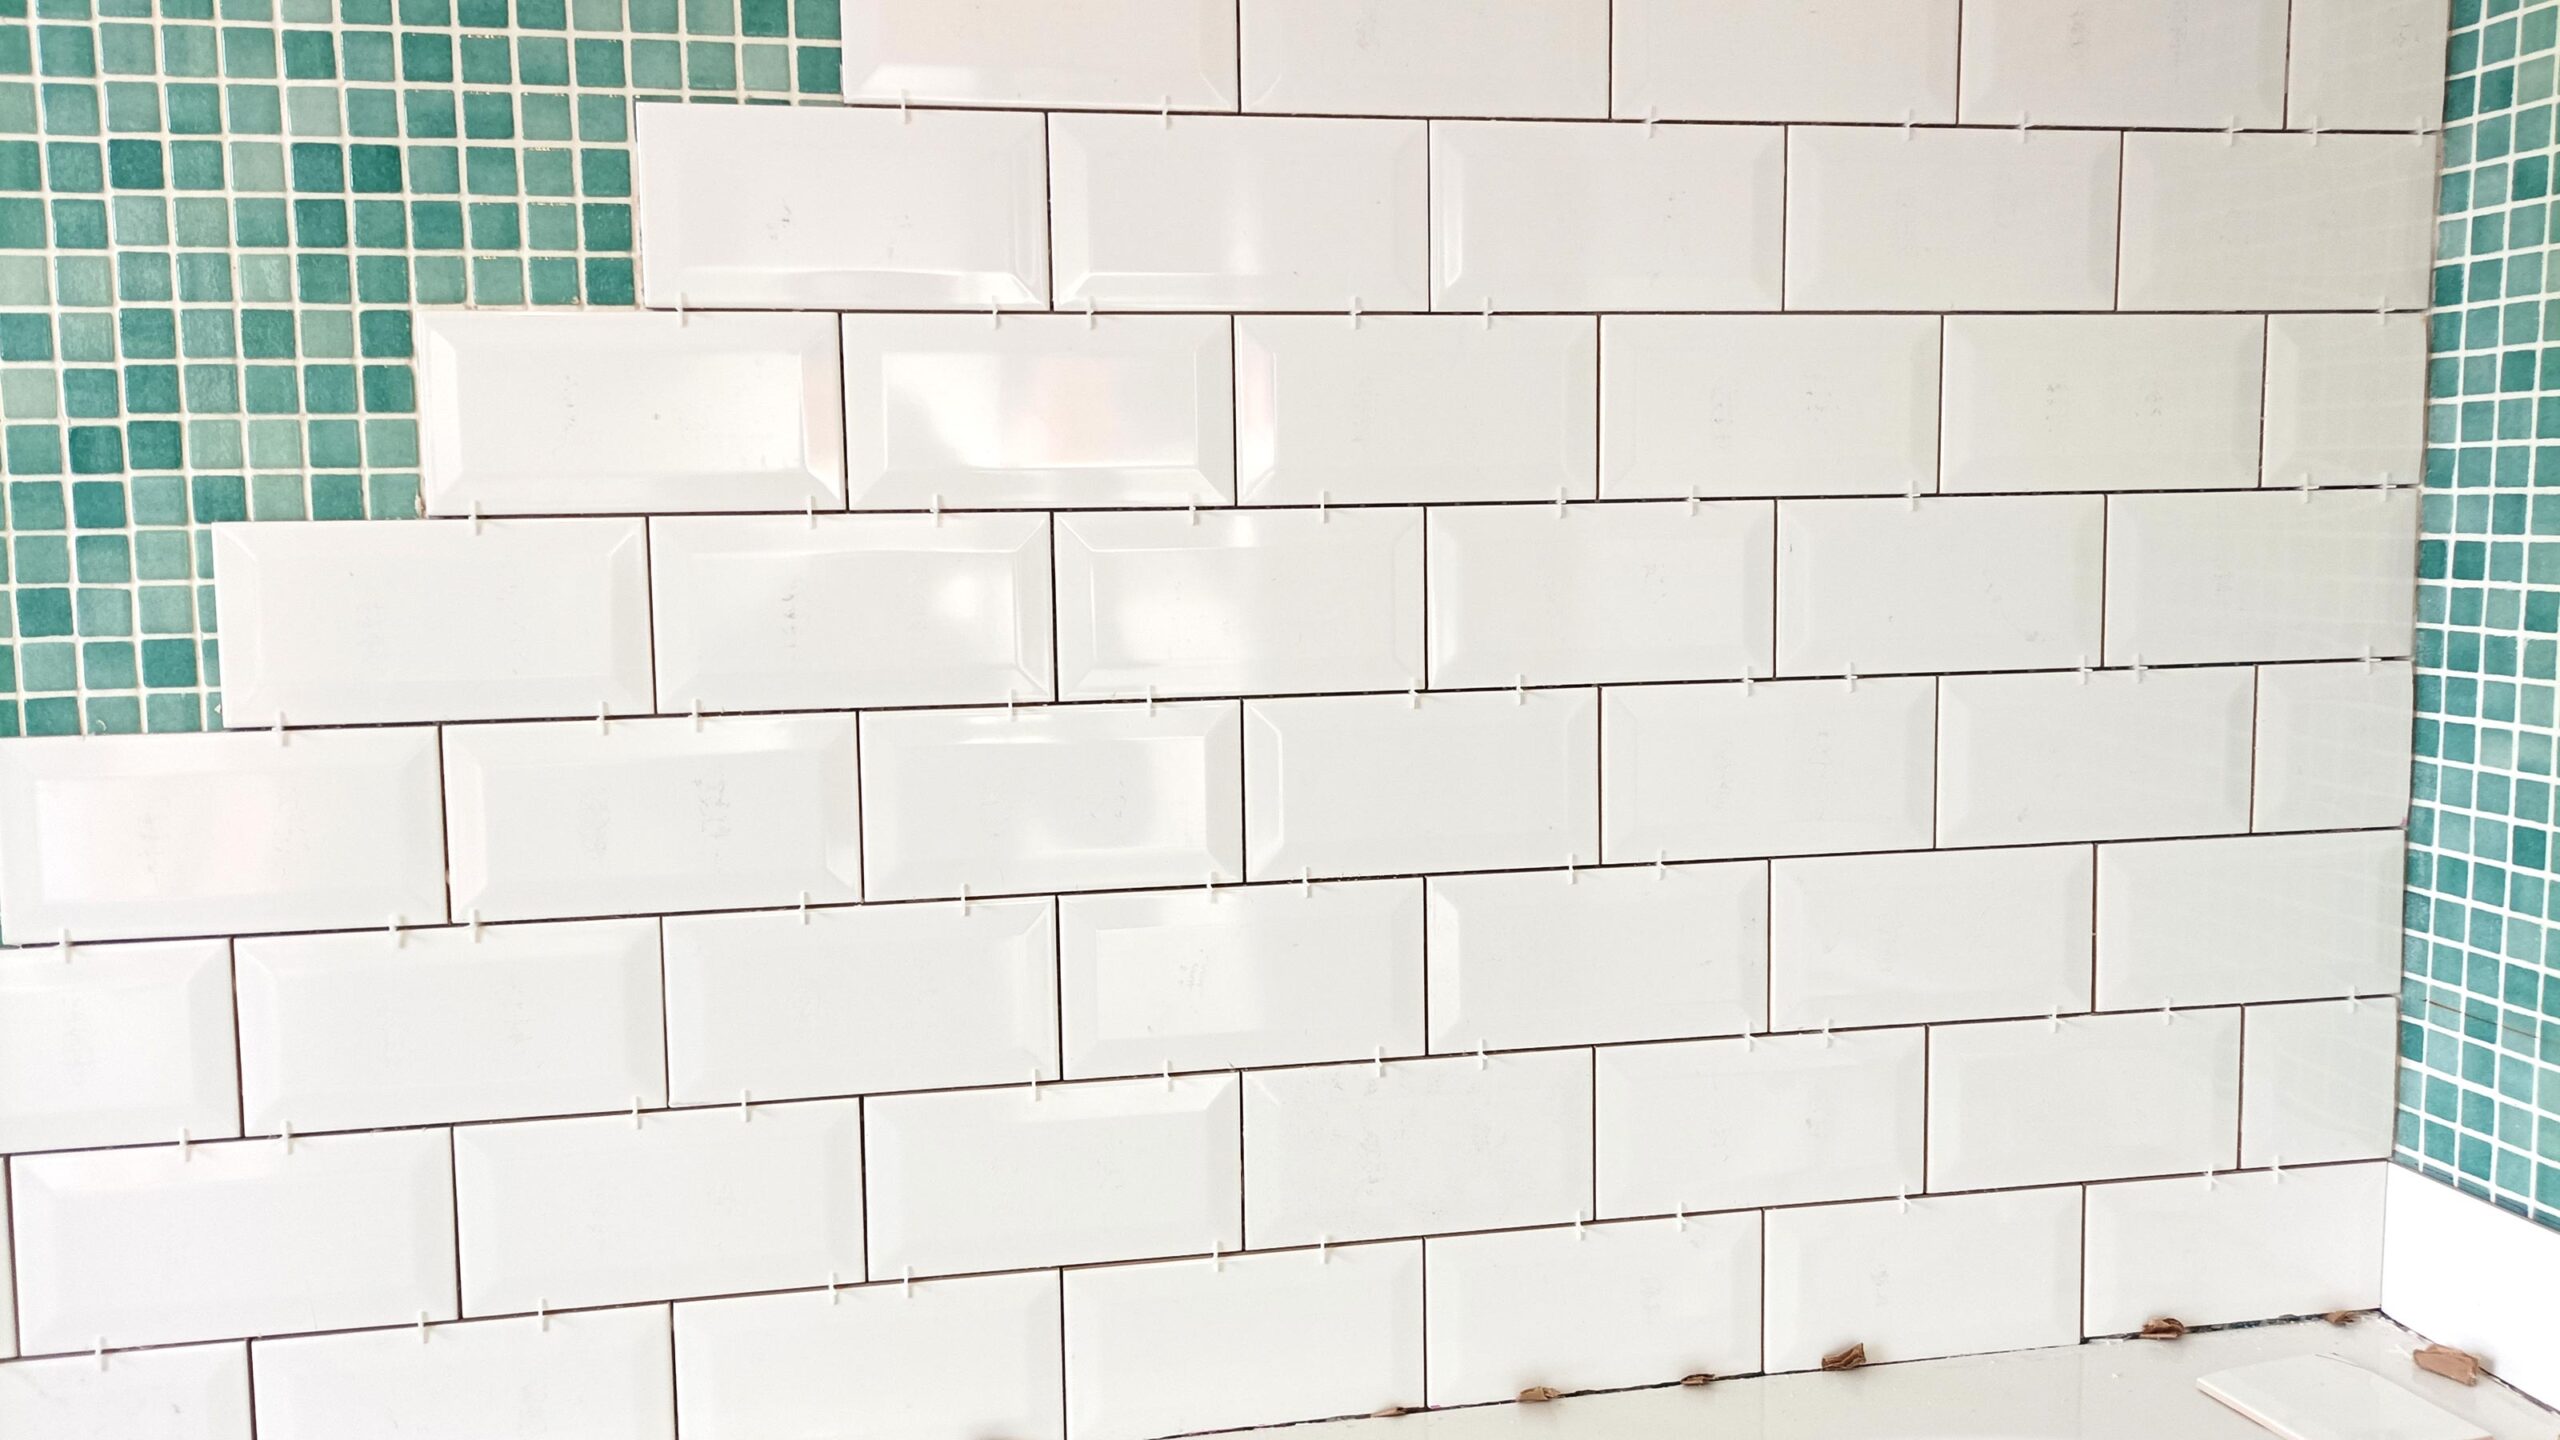
Step 6: Drying and Grouting
Once tiles are set:
-
Allow the thin-set mortar to dry completely (usually 24 hours).
-
Apply grout evenly between tiles using a grout float.
-
Remove excess grout with a damp sponge, and let it cure.
Sealing the grout prevents staining and enhances durability, making cleaning easier in the future.
Step 7: Sealing and Maintenance
Sealing is often overlooked but critical for longevity:
-
Apply a high-quality grout sealer.
-
Reapply periodically based on manufacturer instructions, especially in high-moisture areas.
-
For outdoor tiles, proper sealing protects against weathering.
This step ensures the tiles remain pristine and durable over time.
Tips for Successful Tiling Over Tiles
-
Avoid Excess Weight: Ensure the underlying structure can support the additional tile layer.
-
Choose Compatible Tiles: Avoid overly thick tiles that may create height issues, especially for doorways.
-
Tile Layout: Plan the layout before applying adhesive to minimize cutting and awkward joints.
-
Professional Advice: Consult experts if unsure about surface stability or adhesive type.
For unique styles and inspiration, check TileUnique, which offers various tiles suitable for indoor and outdoor applications.
Common Mistakes to Avoid
-
Skipping Surface Preparation: Leads to poor adhesion.
-
Using Wrong Adhesive: Not all thin-set mortars are compatible with tile-over-tile projects.
-
Ignoring Leveling Issues: Can cause uneven surfaces or tripping hazards.
-
Rushing Drying Times: Can cause grout and adhesive to fail prematurely.
Avoiding these mistakes ensures a smooth installation and a long-lasting finish.
Pros and Cons of Tiling Over Existing Tiles
Pros:
-
Saves time and labor
-
Preserves subfloor or walls
-
Cost-effective
-
Offers design flexibility
Cons:
-
Adds extra height
-
Requires careful surface assessment
-
May not be suitable for very old or damaged tiles
Despite some drawbacks, with proper preparation, tiling over existing tiles can be a highly efficient method.
When to Consider Replacing Tiles Instead
Sometimes tiling over old tiles isn’t ideal:
-
Existing tiles are extensively cracked or loose
-
Subfloor issues are present
-
Height restrictions make it impractical
In such cases, removing old tiles and starting fresh might be the better choice for durability and safety.
Conclusion
How to Tiling Over Existing Tiles is entirely possible and often practical. By carefully preparing the surface, selecting the right materials, and following professional installation steps, you can transform your space efficiently. Whether updating a kitchen with Durable Floor Tiles, refreshing your outdoor patio with Outdoor Patio Tiles, or adding a touch of style to your Living Room Tile Design, this method delivers reliable results. For a wide selection of tiles and expert guidance, visit TileUnique.
By following these guidelines, your tiling project will not only look beautiful but last for many years with minimal maintenance.