
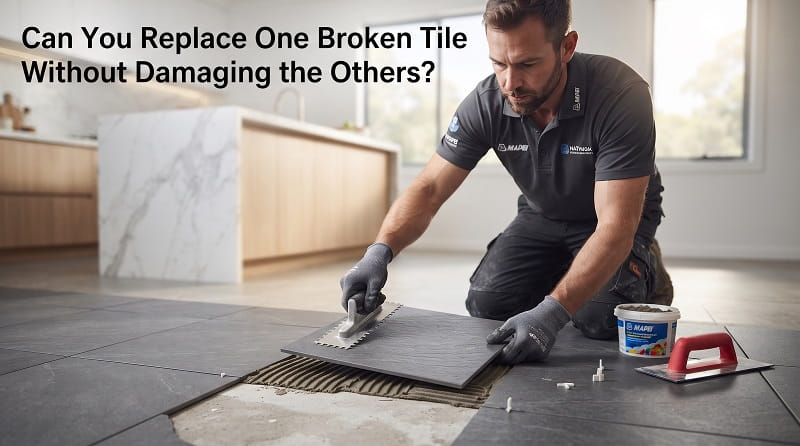
Imagine stepping into your newly renovated kitchen or bathroom in Melbourne, only to notice a nasty crack right across a single floor tile. Panic usually sets in immediately: “Do I have to tear up the whole floor?”
The short answer is no. You can absolutely replace a single broken tile without damaging the surrounding ones, provided you use the right technique and patience. Ripping up an entire section because of one flaw is unnecessary and costly. In this guide, we will break down exactly how professional tilers execute this precise repair, helping you save time, money, and your beautiful flooring.
Why Single-Tile Replacement Requires Precision?
A common mistake homeowners make is trying to pry up a damaged tile without preparing the edges. Because tiles are bound tightly together by grout and adhesive, forcing one out without cutting the perimeter acts like a lever—chipping or cracking the adjacent tiles.
Before starting any work, it is vital to check if you have leftover pieces from your initial installation, or if you need to match the size and pattern from our collection of Durable Floor Tiles to ensure a seamless look.
Essential Tools Checklist
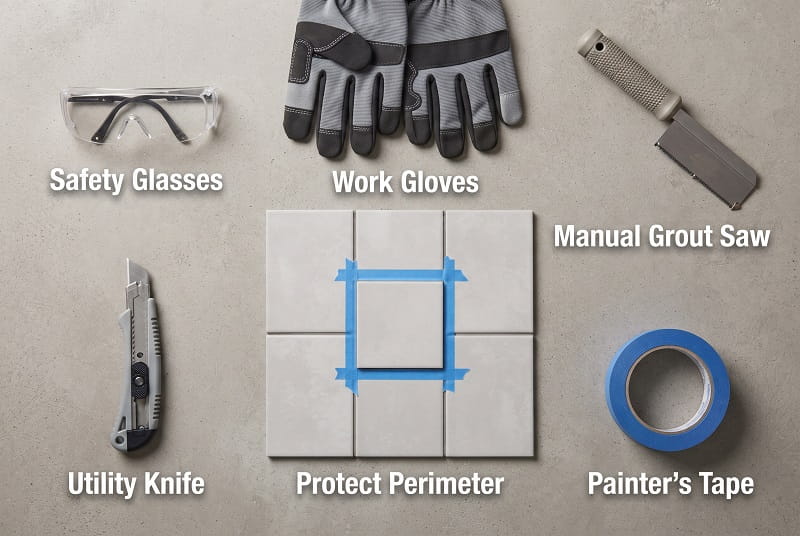
To protect your surrounding flooring and make the job clean, gather these items before you begin:
-
Safety gear: Safety glasses, heavy-duty gloves, and a dust mask.
-
Grout removal tool or multi-tool: Essential for clearing out the joints safely.
-
Hammer and a narrow chisel: For controlled fracturing of the damaged piece.
-
Painter’s tape: To shield adjacent tile surfaces from accidental scratches.
-
Notched trowel and scraper: For clearing old adhesive.
-
Tile adhesive and matching grout: To lock the new piece securely in place.
Step-by-Step Guide to Replacing a Single Tile
Successfully swapping out a cracked unit without harming neighboring surfaces relies on a methodical sequence.
1. Protect and Clear the Perimeter
Start by applying strips of heavy-duty painter’s tape tightly along the edges of the tiles surrounding the broken one. This acts as a buffer shield against accidental slips of your hammer or chisel.
2. Completely Clear Out the Grout
Use a manual grout saw or a power multi-tool equipped with a grout-removal blade to completely grind out the grout lines surrounding the broken tile.
Expert Tip: Do not skip this step. Grout binds the raw edges of your tiles together. If you leave any grout, pulling the tile up will inevitably tear chunks out of the neighboring tiles.
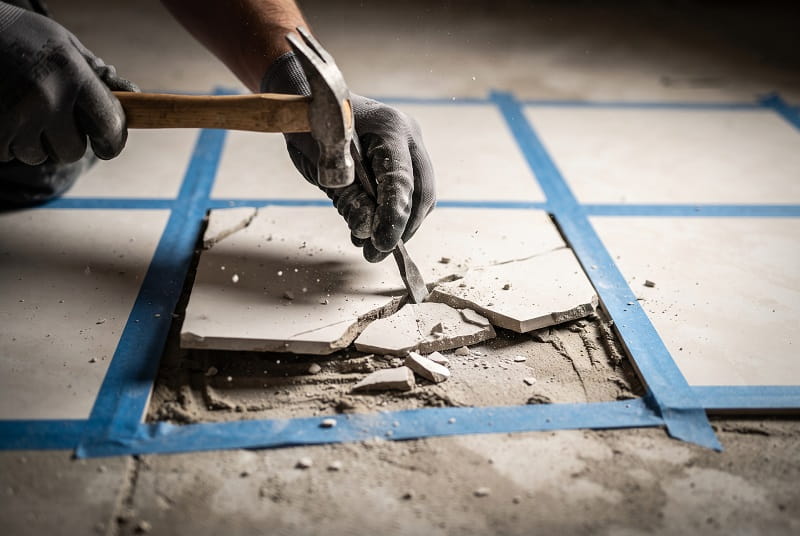
3. Fracture and Remove from the Center
Instead of prying from the outside edges, work from the inside out.
-
Drill a small, careful hole in the center of the broken tile using a specialized ceramic bit (if it isn’t already shattered completely).
-
Place your chisel tip near the center and tap lightly with a hammer to break the tile into manageable fragments.
-
Pry the pieces inward, away from the grout lines, pulling them out piece by piece.
4. Clean and Level the Subfloor
Once the shards are cleared, scrape away all old mortar or adhesive down to the clean subfloor. Any leftover lumps will cause the new piece to sit unevenly—a dangerous flaw that leads to what professionals call “lippage.” Ensure the surface is completely dust-free and dry. If your subfloor requires extra preparation or waterproofing adjustments, refer to our guide on How to Remove Tile Floor: Step-by-Step Guide for Homeowners.
5. Install the Replacement Tile
-
Apply a fresh, even layer of tile adhesive to the back of your new tile and the subfloor using a small notched trowel.
-
Press the tile firmly into position, using standard tile spacers to maintain identical grout line widths on all four sides.
-
Check alignment with a straightedge or spirit level to ensure it sits perfectly flush with the rest of the floor. Allow it to cure undisturbed for 24 hours.
6. Grout and Seal the Joints
Once the adhesive has fully hardened, remove the spacers. Work matching grout into the joints using a rubber grout float diagonally across the seams. Wipe away excess haze with a damp sponge, and apply a protective sealer if required, keeping your maintenance aligned with our expert Tips for maintaining and cleaning tiles to extend their life.
Conclusion
Can you replace a single broken tile without damaging the others? Yes, absolutely. Success comes down to patience, thoroughly grinding out the perimeter grout before applying any force, and working inward from the center. If the damage spans across multiple units, or if the underlying subfloor shows structural cracking which often points to movement issues discussed in our article on Underfloor Heating for Tiles: What Melbourne Homeowners Need to Know Before Installation, a larger repair may be required. However, for an isolated crack, following this precise method will leave your floor looking as good as new.